Set up Bing Catalog
Microsoft will review your store, process takes around 24 hrs, and You will receive an email with the results.
Prepare your store in Bing Merchant Center
If you don't already have an Bing Ads account, set up one: https://bingads.microsoft.com/customer/Signup.aspx
Setup a store by logging into your Bing Ads account and going to Tools > Bing Merchant Center > Create store.
After you are done creating your store we suggest you configure the store's FTP settings:
- Bing Merchant Center > Select store > FTP Settings tab - create an FTP account within the Merchant Center and take of the server address, user name and password as we will need it later. (see Fig 3.1)
Fig 3.1 SFTP and FTP settings
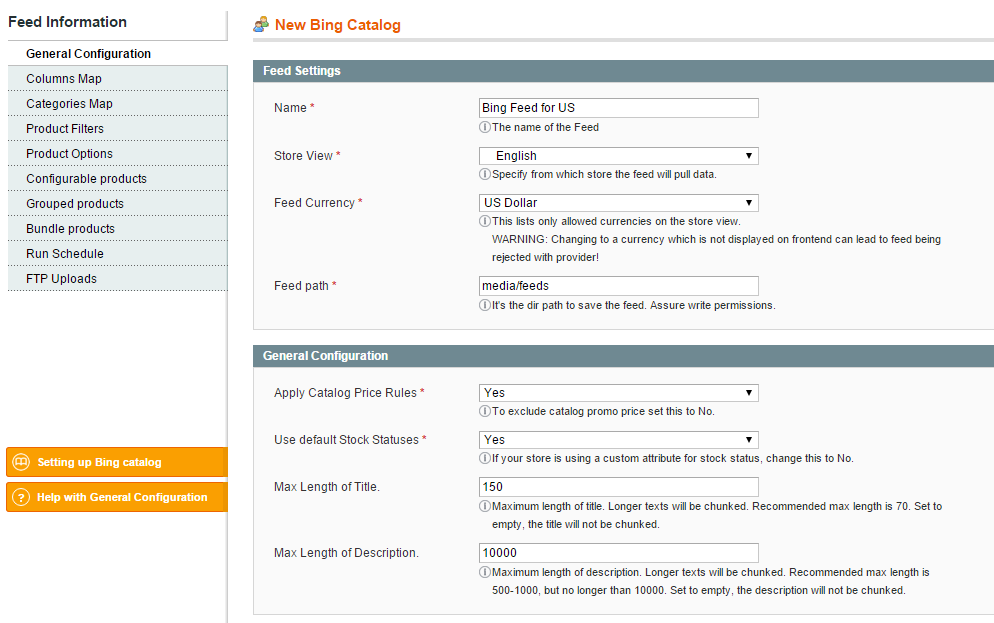
Configure the feed
- Follow the steps on adding a feed section and use Bing Catalog under Feed Type.
Set the target Store View.
If you have different store views for each target country, you may want to create a feed for each of those stores.
When you change the store view, Feed Currency should be set on the default displayed currency for that store. (see Fig 3.2)
Fig 3.2 Store view
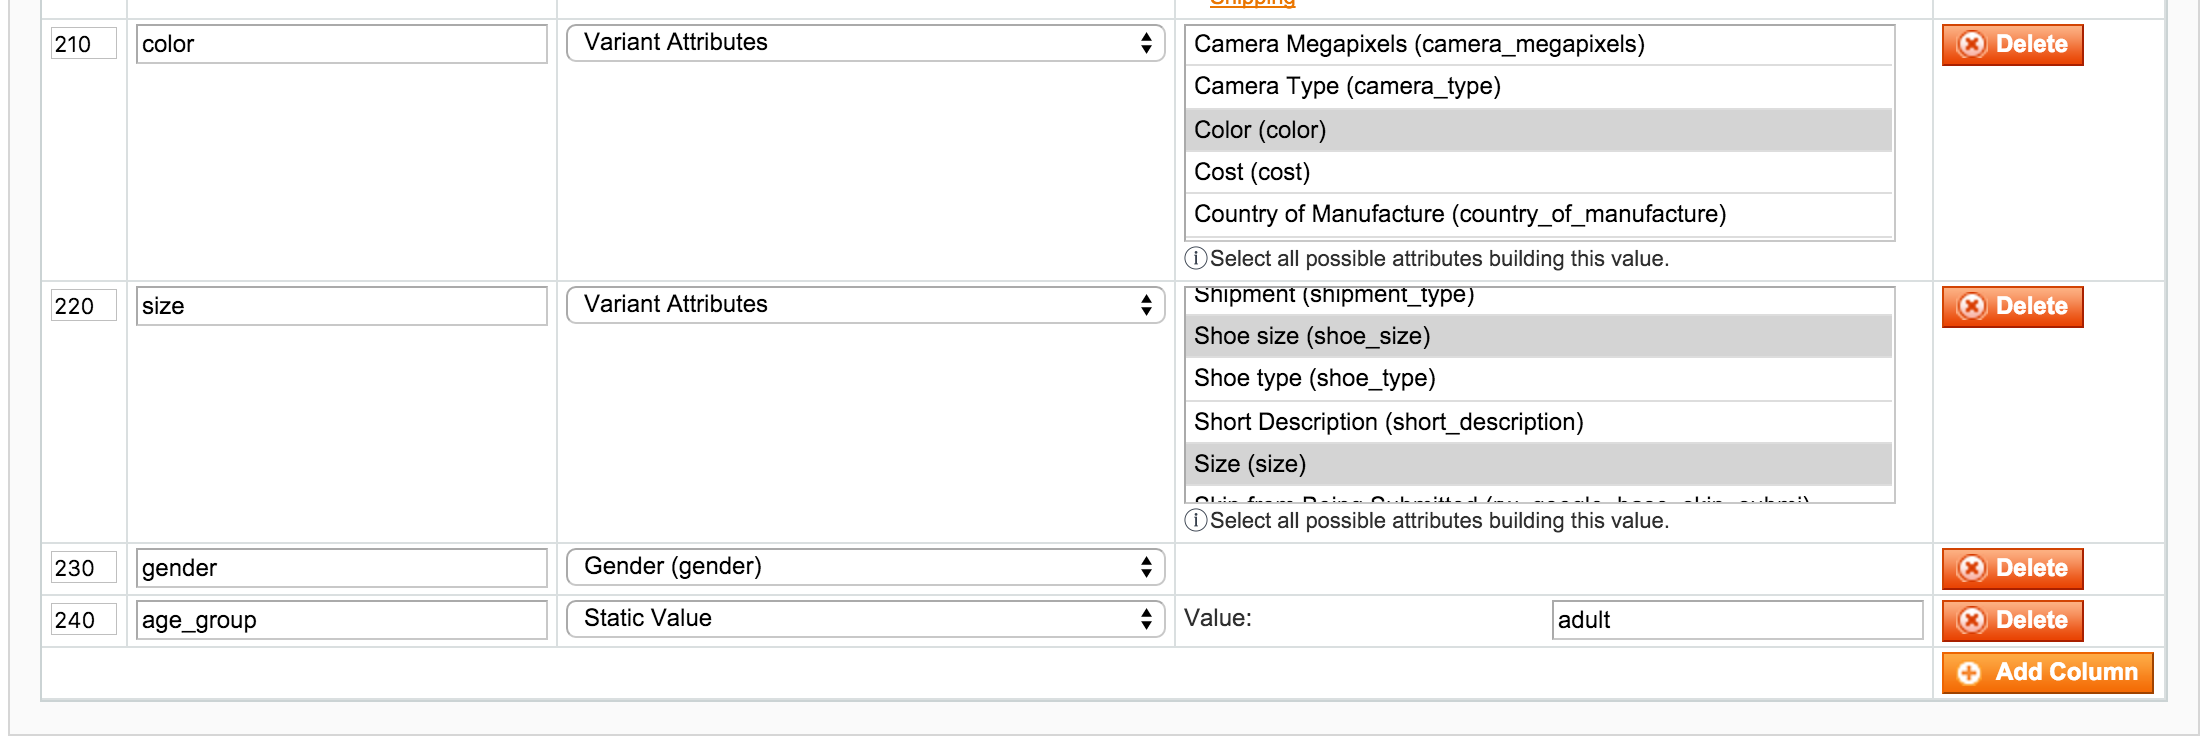
Review Columns Map tab.
Basic columns are preconfigured to match most catalogs. If the default value does not match your catalog, then you should change it to one that suits your catalog setup. It is recommended you study the Bing Catalog Fields if you want to customize your columns map.
If your store sells Apparels, you'll have to add in the apparel required columns: color, size, gender and age_group. Since apparels are mostly configurable products, use the Variant Attribute directive to map size and color columns onto configurable attributes. If your apparels are simple products with custom options instead of configurable products, you should use Custom Options in the mappings instead of Variant Attribute. Custom Options directive allow you to choose which options hold that particular column information. (see Fig 3.3)
Fig 3.3 Columns Map
For the US, exclude tax in the price. For Canada and India, exclude any value added tax (VAT) in the price. For all other countries, be sure to include VAT in the price. You can turn taxes off under the price and sale_price columns (see Fig 3.4)
More options on how to set your feed columns, can be seen at Columns Map page.
Save feed configuration !
Fig 3.4 Product prices

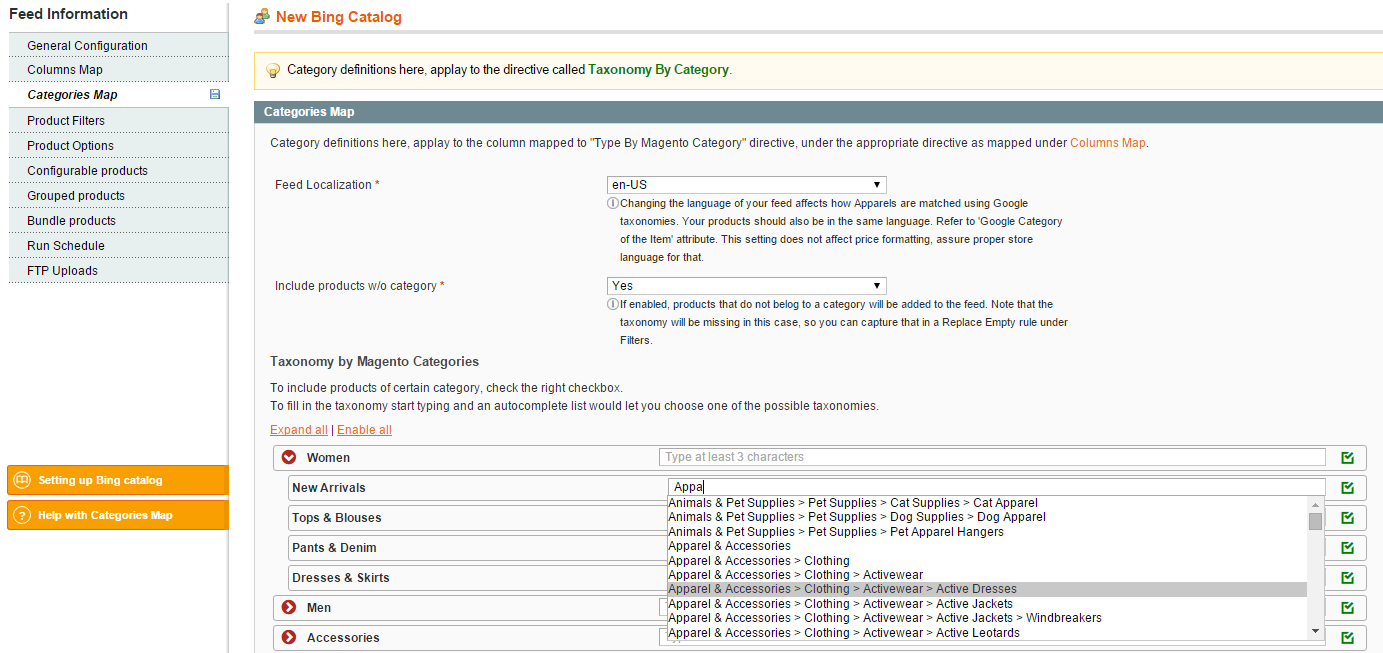
Categorize products under Categories Map tab.
First choose the right Feed Localization, which corresponds to target country and language of your store.
Use the autocomplete boxes for each of your categories to find a matching Bing taxonomy. You should always pick something from the autocomplete list, otherwise Bing will not validate them.
Here you have a chance to exclude products from certain categories, by unchecking the related green box from the right side. (see Fig 3.5)
If you have products that are not assigned to a category, you could use the Include products w/o category to exclude them.
Save feed configuration !
Fig 3.5 Categories Map
Set the FTP Uploads
Use the Add Account button and fill in the FTP account details created in preparation of your Merchant Center. (see Fig 3.6)
See more information on FTP Uploads.
Validate and Save feed configuration !
Fig 3.6. FTPUploads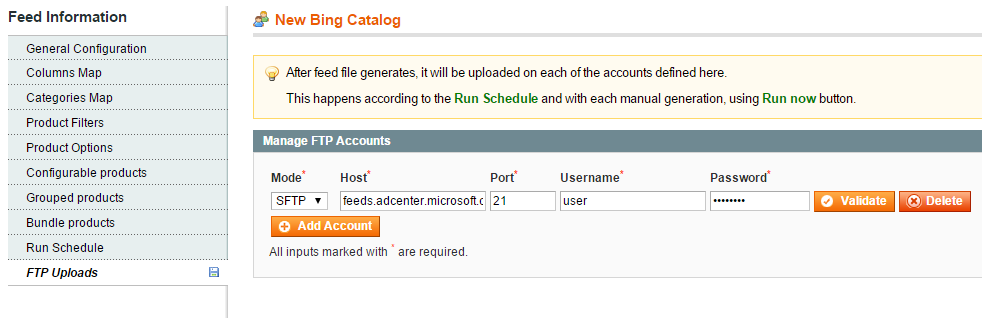
Submit the feed to Bing
Register the feed with Merchant Center
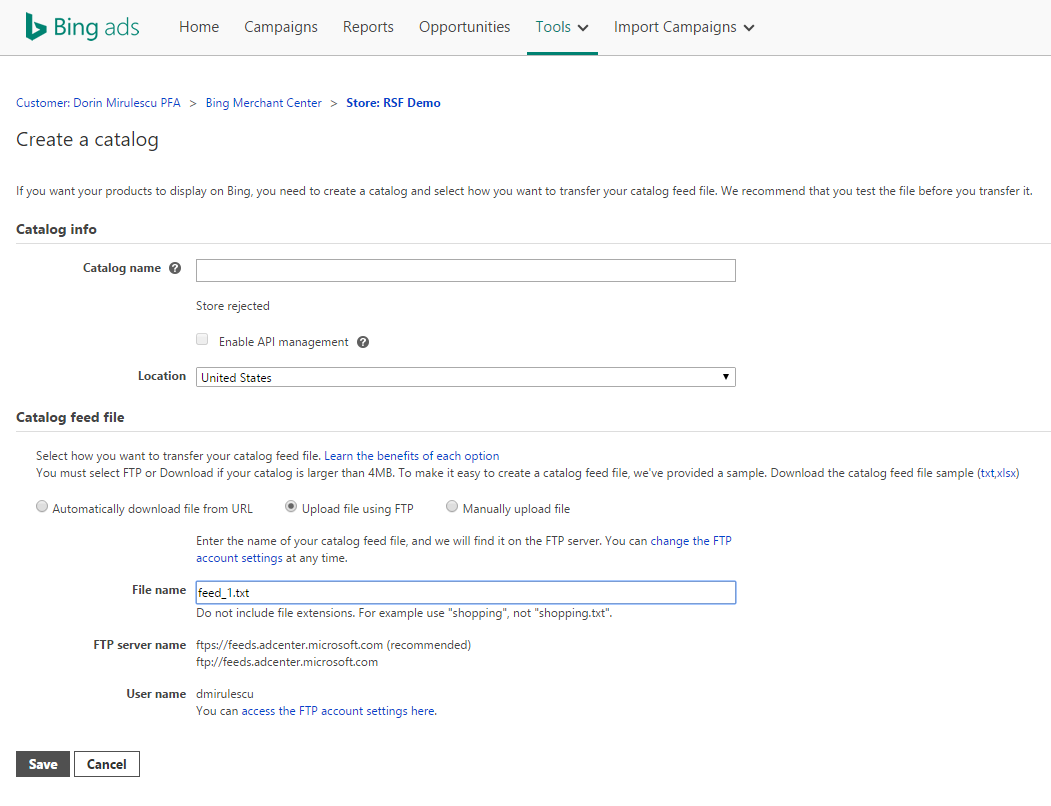
Navigate to Catalog Management in the selected store in the Merchant Center and click on the Create Catalog button, then follow the steps to register it:
Location - should correspond to the Feed Localization and Feed Currency set earlier at step 2. from feed configuration in Magento.
Catalog name - can be anything, but for consistency, name it the same way as you did in Magento. (see Fig 3.7)
You can opt for Bing to automatically retrieve the feed from a specified URL (Source URL), upload file using FTP or manually upload it.
File name = feed_<id>.txt (for FTP upload) (see Fig 3.7)
Replace the <id> with the feed ID in Magento, as it can be seen in the feed management screen.
Fig 3.7 Create a new catalog
Generate the feed
Click the Run Now button in the feed feed management screen, and wait for the feed to complete. This will generate the feed file and also upload it to your Merchant Center. (see Fig 3.8)
Feed will process daily, so at this step you may also adjust the Run Schedule if you need to. Check our guide on Generating the feed for more details.
Fig 3.8 Generate Feed

Analyze results
Once the feed has completed, go into the Merchant Center and select the feed you just registered.
Check the number of item processed and see if there are any errors with processing. If there are errors, follow our Testing and Troubleshooting section to help solve them.
No comments to display
No comments to display